

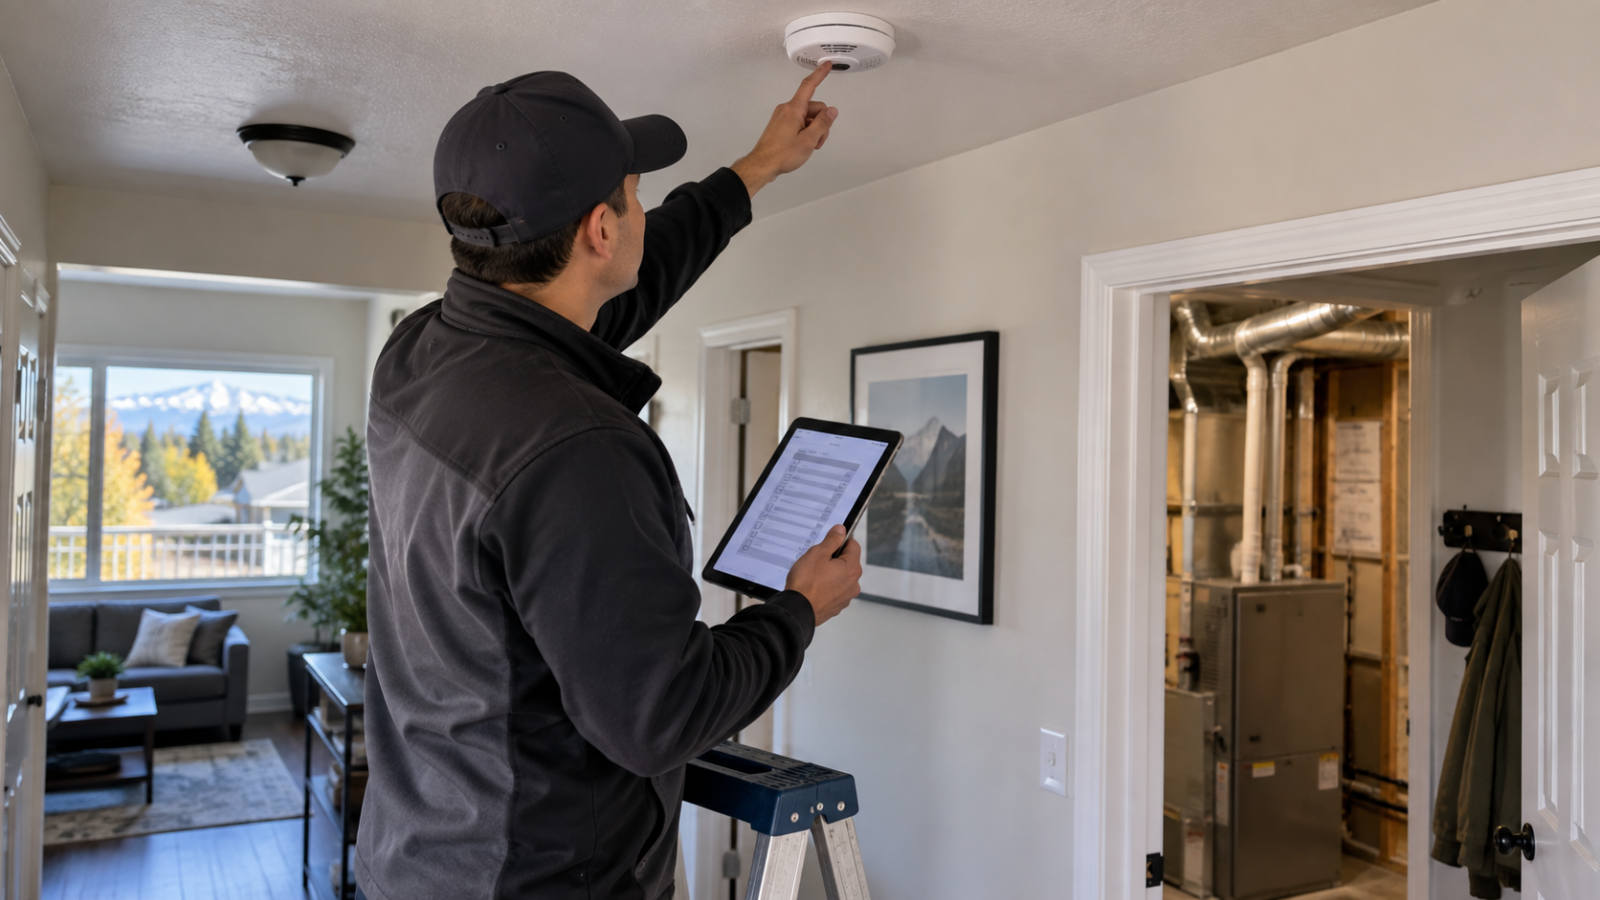
When an Alaska rental shifts into regular heating season, a quick alarm check is useful. A documented alarm workflow is better.
Smoke alarms and carbon monoxide alarms are not interchangeable. They address different hazards, have different service lives, and may need different placement. For a rental owner, that means the job is not finished when someone presses a test button and hears a chirp. The stronger process verifies what is installed, where it is installed, how old it is, whether it is functioning, and who will close any follow-up item.
That process is especially timely in Anchorage and nearby Southcentral Alaska communities as furnaces, boilers, fireplaces, and other fuel-burning equipment return to more frequent use.
This is a practical operations checklist, not a substitute for the manufacturer’s instructions, current code requirements, the lease, or advice from a qualified fire-safety, HVAC, or legal professional.
Start with a complete alarm inventory
Before testing anything, create a room-by-room inventory. Record every smoke alarm, carbon monoxide alarm, and combination unit in the property.
For each device, note:
- Exact location, such as upstairs hallway outside the bedrooms
- Device type: smoke, carbon monoxide, or combination
- Power source: replaceable battery, sealed battery, plug-in, or hardwired with backup battery
- Manufacturer and model, when visible
- Manufacture date and installation date, if known
- Replacement date shown in the instructions or on the unit
- Physical condition, including missing covers, paint, dirt, damage, or signs of tampering
The inventory matters because a passing test today does not establish that the device is appropriately located or still within its recommended service life. The U.S. Fire Administration advises replacing smoke alarms 10 years from the manufacture date and testing them monthly. The CDC advises replacing carbon monoxide detectors according to the manufacturer’s instructions and recommends battery-operated or battery-backup CO detectors near every sleeping area.
An owner managing several units can make this easier by assigning each device a simple identifier, such as Unit 2A, Hall Smoke 01. That identifier can appear in inspection notes, work orders, replacement receipts, and follow-up photographs.
Test the device, then verify the details around it
Follow the manufacturer’s test procedure for each alarm. A test-button response confirms an important part of operation, but the surrounding inspection is just as useful.
Check that the alarm is firmly mounted and unobstructed. Look for blocked vents, loose bases, painted housings, corrosion, missing batteries, or an unplugged power cord. If the alarm is hardwired, avoid electrical work unless it is being handled by a qualified person.
Placement also deserves attention. U.S. Fire Administration guidance recommends smoke alarms inside and outside sleeping areas and on every level of a home. It also recommends interconnected alarms so that when one sounds, they all sound. For carbon monoxide, the CDC recommends alarms near every sleeping area.
Those federal recommendations provide a strong safety reference, but a property-specific review should also account for the building design, equipment, manufacturer’s instructions, and applicable Alaska and local requirements. If anything is uncertain, document the question and route it to the appropriate professional rather than improvising.
Confirm the age, not just the battery
One of the most common weaknesses in alarm checks is treating a new battery as if it resets the life of the device. It does not.
A device can sound during a button test and still be due for replacement based on its manufacture date or the manufacturer’s specified service life. During the walkthrough, photograph the date label whenever it is readable. If the date is missing, illegible, or impossible to verify, flag the device for a decision instead of recording it as fully cleared.
For replaceable-battery models, use the battery type listed by the manufacturer. For sealed units, do not attempt to open or alter the device. For hardwired units, confirm that backup batteries and replacement procedures are handled according to the instructions.
The goal is a clear status for every device:
- Verified and operating
- Battery or routine service due
- Replacement due
- Placement or device type requires professional review
- Access or resident coordination required
Connect the alarm check to the heating-system review
Carbon monoxide is colorless and odorless. The CDC notes that fuel-burning equipment, including gas- and oil-burning furnaces, can produce it. The agency recommends annual service by a qualified technician for heating systems, water heaters, and other gas-, oil-, or coal-burning appliances.
For a rental owner, the alarm walkthrough should therefore connect to the property’s broader heating-season record. Confirm whether the heating equipment has been serviced, whether vents and combustion-air openings are clear, and whether any technician recommendations remain open.
This does not mean a landlord should diagnose combustion equipment. It means the management record should show whether a qualified inspection or service was scheduled, completed, and documented.
Chimneys and fireplaces require similar discipline. The CDC advises having chimneys checked or cleaned every year because debris can block them and allow carbon monoxide to build indoors. Where a rental includes a fireplace or fuel-burning appliance, make responsibilities and permitted use clear before the season is fully underway.
Give residents a short, usable message
Resident communication should be practical, not alarming. A seasonal message can explain:
- How to report a chirping, damaged, missing, or sounding alarm
- Why an alarm should never be disabled or covered
- Which maintenance channel to use for a non-emergency concern
- What to do if an alarm sounds or someone may be experiencing carbon monoxide exposure
- Why vehicles, grills, generators, and other fuel-burning equipment should never be used in an unsafe enclosed location
The CDC says a generator should be operated outdoors and more than 20 feet from windows, doors, and vents. It also warns against running a vehicle inside an attached garage, even with the garage door open. These are useful safety points for a concise seasonal reminder, particularly when outages or severe weather may lead residents to consider backup equipment.
Avoid burying the message in a long general newsletter. Keep the immediate actions visible and provide the correct emergency and maintenance contacts.
Build a record that supports follow-through
A good alarm record is simple enough to maintain and specific enough to act on. It can include:
- Date and time of the inspection
- Name of the person who performed it
- Unit and device identifier
- Test result
- Manufacture or replacement date
- Photograph of the device and date label
- Work order number, if service is needed
- Resident notice or access record
- Completion date and final photograph
The final step is closure. A list of deficiencies is not a completed inspection. Assign each item to a person, add a target date, and verify the result. For a multifamily property, a dashboard or standardized spreadsheet can help an owner see which units are complete and which still require access, parts, or professional attention.
Retain the documentation according to the property’s recordkeeping policy and any applicable legal requirements. If an alarm is replaced, update the asset record so the next inspection starts with reliable information rather than guesswork.
Avoid five common process gaps
First, do not rely on resident self-reporting as the entire inspection program. Residents are valuable partners, but the owner still needs a consistent property-level process.
Second, do not assume every alarm in a unit is the same age or model. Turnovers, repairs, and past replacements can create a mixed inventory.
Third, do not close a work order merely because a new device was purchased. Record installation and verification.
Fourth, do not combine life-safety checks with so many cosmetic inspection items that urgent follow-up gets lost.
Fifth, do not copy requirements from another state or municipality. Verify the current rules that apply to the Alaska property and its building type.
A calm system is more useful than a seasonal scramble
Heating-season preparation is not about creating anxiety. It is about turning a basic safety task into a repeatable workflow.
Inventory the devices. Test them according to their instructions. Verify age and placement. Connect the record to qualified heating-equipment service. Give residents a clear reporting path. Then close every follow-up item.
For owners who would rather have recurring inspections, resident communication, maintenance coordination, and documentation organized through one management process, Real Property Management Last Frontier can discuss how those responsibilities may be handled for an Anchorage-area rental.
Want a more consistent way to track inspections, resident communication, and maintenance follow-through? Contact Real Property Management Last Frontier to discuss your Anchorage-area rental.
This content is provided for general informational and educational purposes only and does not constitute financial, legal, tax, or investment advice. Readers should consult with licensed professionals regarding their specific circumstances.
We are pledged to the letter and spirit of U.S. policy for the achievement of equal housing opportunity throughout the Nation. See Equal Housing Opportunity Statement for more information.
